Event price setup
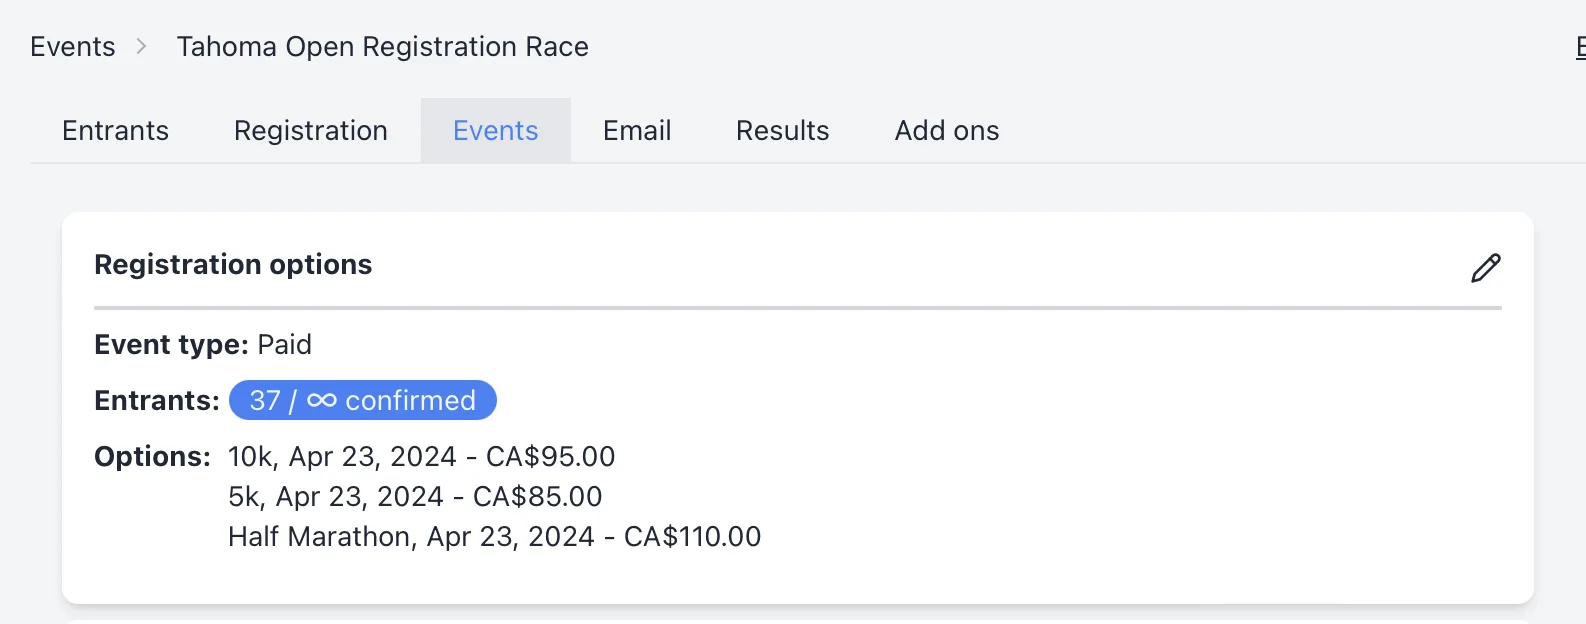
You can set the price on individual events (e.g. if you event has a 5k and a 10k and they are different prices). You may do this in "Events" tab of an event.
- Navigate to an event from your events list.
- Open the "Events" tab.
- If you haven't yet, you must finish setting up Stripe in pro settings in order to create paid events.

- Click the pencil icon in the upper right of the registration options card to begin editing.
- Note: if the event was previously marked as a free event, you must click "Convert to paid event" to enable the price fields on the registration options.
- Select a currency: by default, USD will be selected.
- Fill out the "Price" field of every registration option. Every event must be at least $1.00.
- Click "Save" to persist the changes.
Price schedules
If you would like the price of the event to increase as you approach the event start date, you may also set up a price schedule. Click the button that says "Set up a price schedule" to set up a price schedule.
- Open the price schedule modal.
- Click "Add" to add a price, a start date, and an end date
- The price will be the top level price any time outside of these dates.
- Dates may not overlap.
- Click "Add" to add additional scheduled dates.
Note: Participants who initiate a checkout within 30 minutes of a price schedule change will be able to finish their checkout on the previous scheduled price.
Sign in to
YARRA
Don't have an account? Sign up.